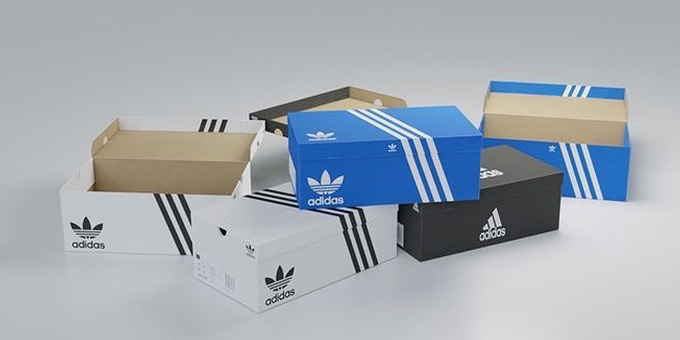
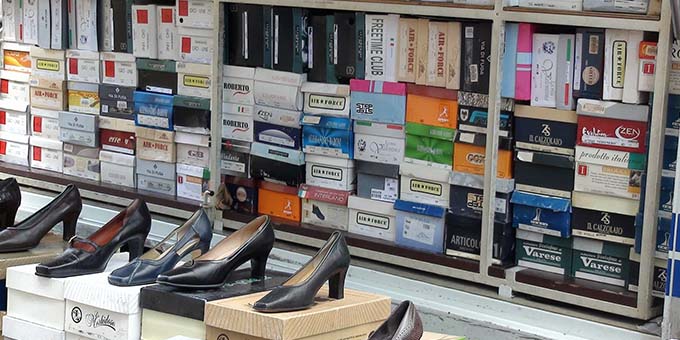
The custom shoe box is no exception; offering a distinctive touch to the product, they significantly elevate the customer’s shopping experience.
The realm of fashion and footwear has been constantly evolving, emphasizing the need for unique and personalized products.
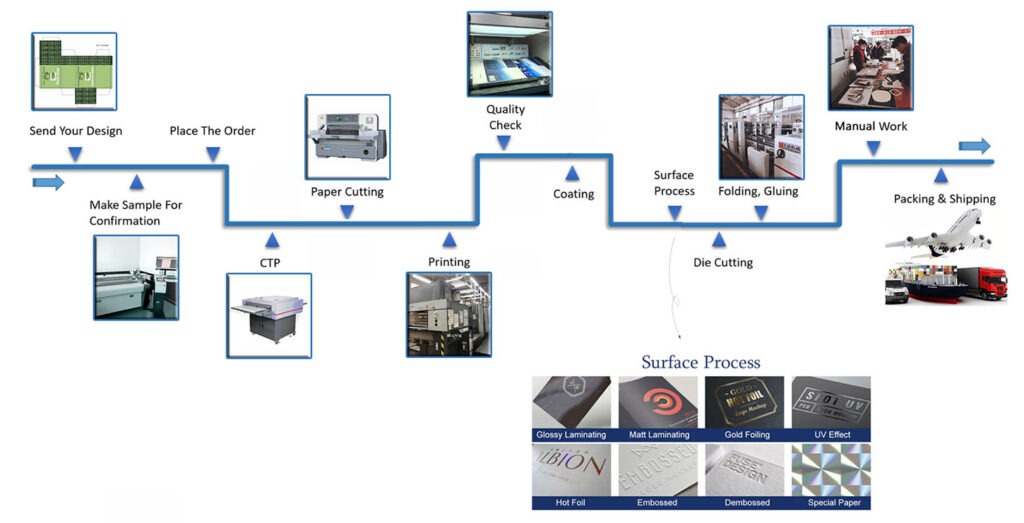
As such, the process of creating a custom shoebox involves careful consideration of several factors to ensure optimal design and functionality. This article will walk you through the key steps and data points involved in the custom shoebox production process.

Step 1: Understanding the client’s requirements
The first step in creating a custom shoe box is to gather information about the client’s preferences and requirements. This includes the type of shoes that will be housed in the box, style preferences, color schemes, and any other specific features that the client feels will give their product a competitive edge.
Key data points to consider:
– Type of shoes (elegance, sports, casual, etc.)
– Desired style and design
– Target demographic
Step 2: Selecting the ideal materials
Once the client’s requirements are clear, the next step is to choose the appropriate materials for the custom shoe box. This involves considering factors such as durability, eco-friendliness, and cost. Materials commonly used for shoe boxes include cardboard, corrugated paper, wood, and even plastic.
Key data points to consider:
– Material durability
– Eco-friendliness and sustainability
– Budget constraints

Step 3: Deciding on size and dimensions
The dimensions of the custom shoe box should be aligned with the size of the shoes it will hold. Customizing the shoe box size ensures a perfect fit while minimizing the wastage of materials and space during storage and shipping.
Key data points to consider:
– Shoe sizing and categories (men’s, women’s, and children’s sizes)
– Measurements based on shoe sizes
– Volume requirements for additional contents (i.e., shoelaces, shoe care products, etc.)
Step 4: Designing the artwork
Artwork design is a crucial aspect of the custom shoe box, as it is the first impression that customers get when they see the product. The artwork should reflect the client’s brand identity and resonate with the target audience. Artwork design can include logos, color schemes, graphics, and even intricate patterns.
Key data points to consider:
– Client’s brand identity
– Logo placement and size
– Color schemes and symbolism

Step 5: Prototype creation and approval
Before moving on to mass production, creating a prototype of the custom shoe box is necessary to ensure the design translates well to the physical box. It is crucial to thoroughly review the prototype for any issues before proceeding with mass production.
Key data points to consider:
– Physical match with design specifications
– Manufacturing quality control (i.e., print accuracy, color matching, etc.)
Step 6: Mass production and quality checks
With the client’s approval, mass production of the custom shoe box ensues, following the exact specifications of the approved prototype. Quality checks during production are essential to ensure consistent adherence to design requirements and material standards, thus minimizing defects and waste.
Key data points to consider:
– Production timelines
– Quality control standards and checkpoints
In conclusion, creating a custom shoe box entails a meticulous process involving the client’s requirements, material selection, dimensions, artwork design, prototype approvals, and mass production. By paying attention to the key data points in each step, these custom shoe boxes will successfully enhance the overall shopping experience and provide a strong identity for the client’s brand.


